Join Now
ACCESS OUR GROWING CATALOG OF VISION REHABILITATION ACTIVITIES
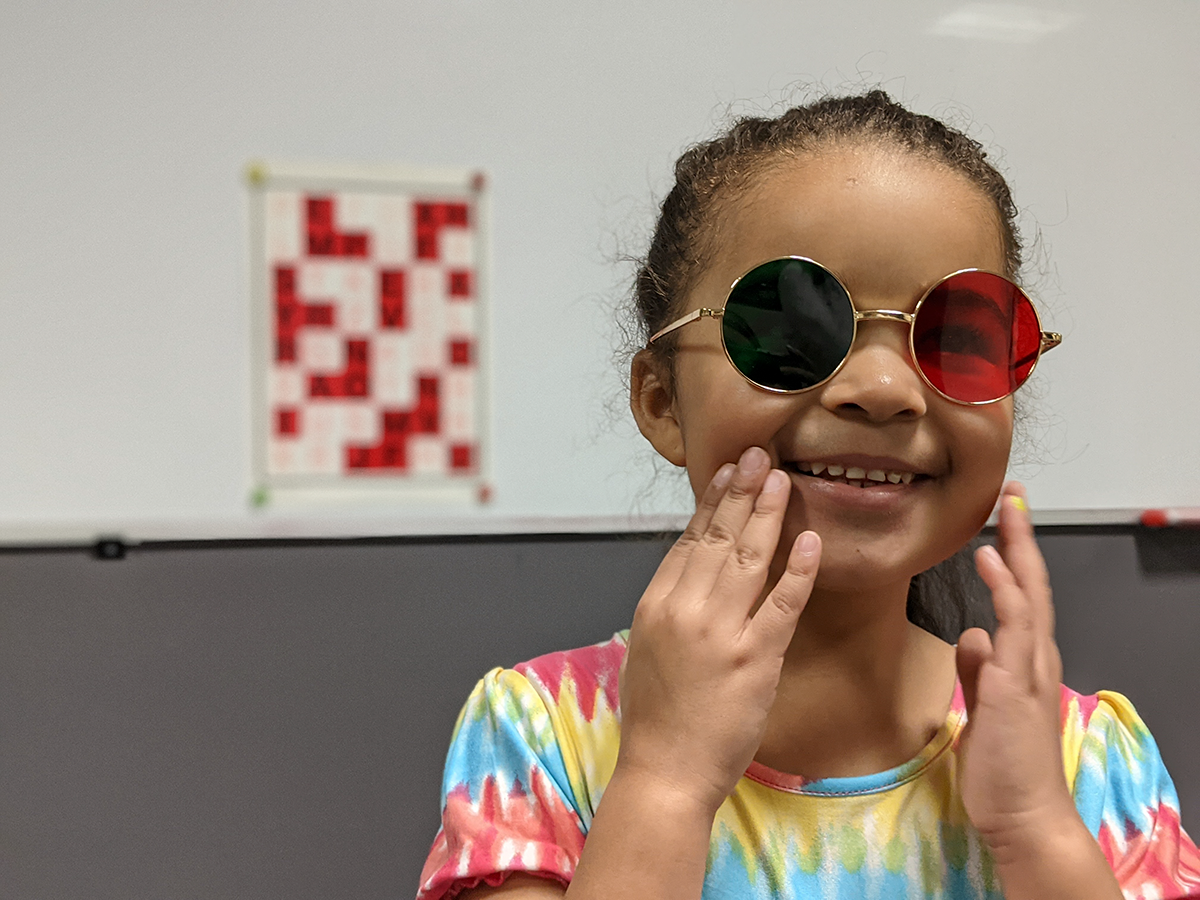
Our growing list of Vision Rehabilitation Activities covers a broad array of therapeutic needs, including:
GROSS MOTOR
FINE MOTOR
VISUOMOTOR
VISUAL PERCEPTION
FOCUSSING / ACCOMODATION
VERGENCE
RANGE OF MOVEMENT
VESTIBULAR / BALANCE
SPATIAL AWARENESS
CORE REFLEXES AND STRENGTHENING
EARLY (PRIMITIVE REFLEXES)
FIXATION / TARGETTING (SACCADES / PURSUITS)
PROFESSIONAL Membership grants full access to broad and growing library:
Access to full Vision Rehabilitation Activities Library, including video explainers, downloadable worksheets. Includes all new releases for the next year.
Normal Pricing Annual (Full access for one year.): $99 USD
Professional Annual Membership
Normal Pricing LIFETIME (Full access for one year.): $149 USD
Professional LIFETIME Membership
Includes access to the FULL LIBRARY OF VIDEO SEMINARS led by Dr. Boulet and others. These are offered all for one price but do not include CE credits since there is no way to monitor progress on this platform. If you need CE credits, you are encouraged to seek Dr. Boulet’s seminars at PESI.com.
Disclaimer/Terms:
You may use these in your own clinical practice and/or your own family with no restrictions. Your account will automatically renew in 1 year unless you unsubscribe. We are not to be held liable or responsible for how you use this information. This information is not a substitute for medical advice.
You are never to share your own membership information with another. We monitor logins and IP addresses and will limit accounts to no more than 5 unique IPs. Logins beyond this number may result is account suspension.
We hope you find this information helpful in moving your clinical practice forward. Welcome aboard.
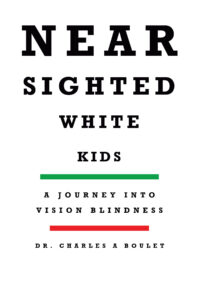
Dr. Boulet
Charles A. Boulet PC